because i did not make a "proper" pattern, nor did i write anything down. but for those of u, that are like me ( aka sewing rebel ) and like to make something, just to see " what happens ", here is a step by step on a easy-peasy little set, that is also a scrap buster.
yes.. i know some of the fancy quilting blog lingo
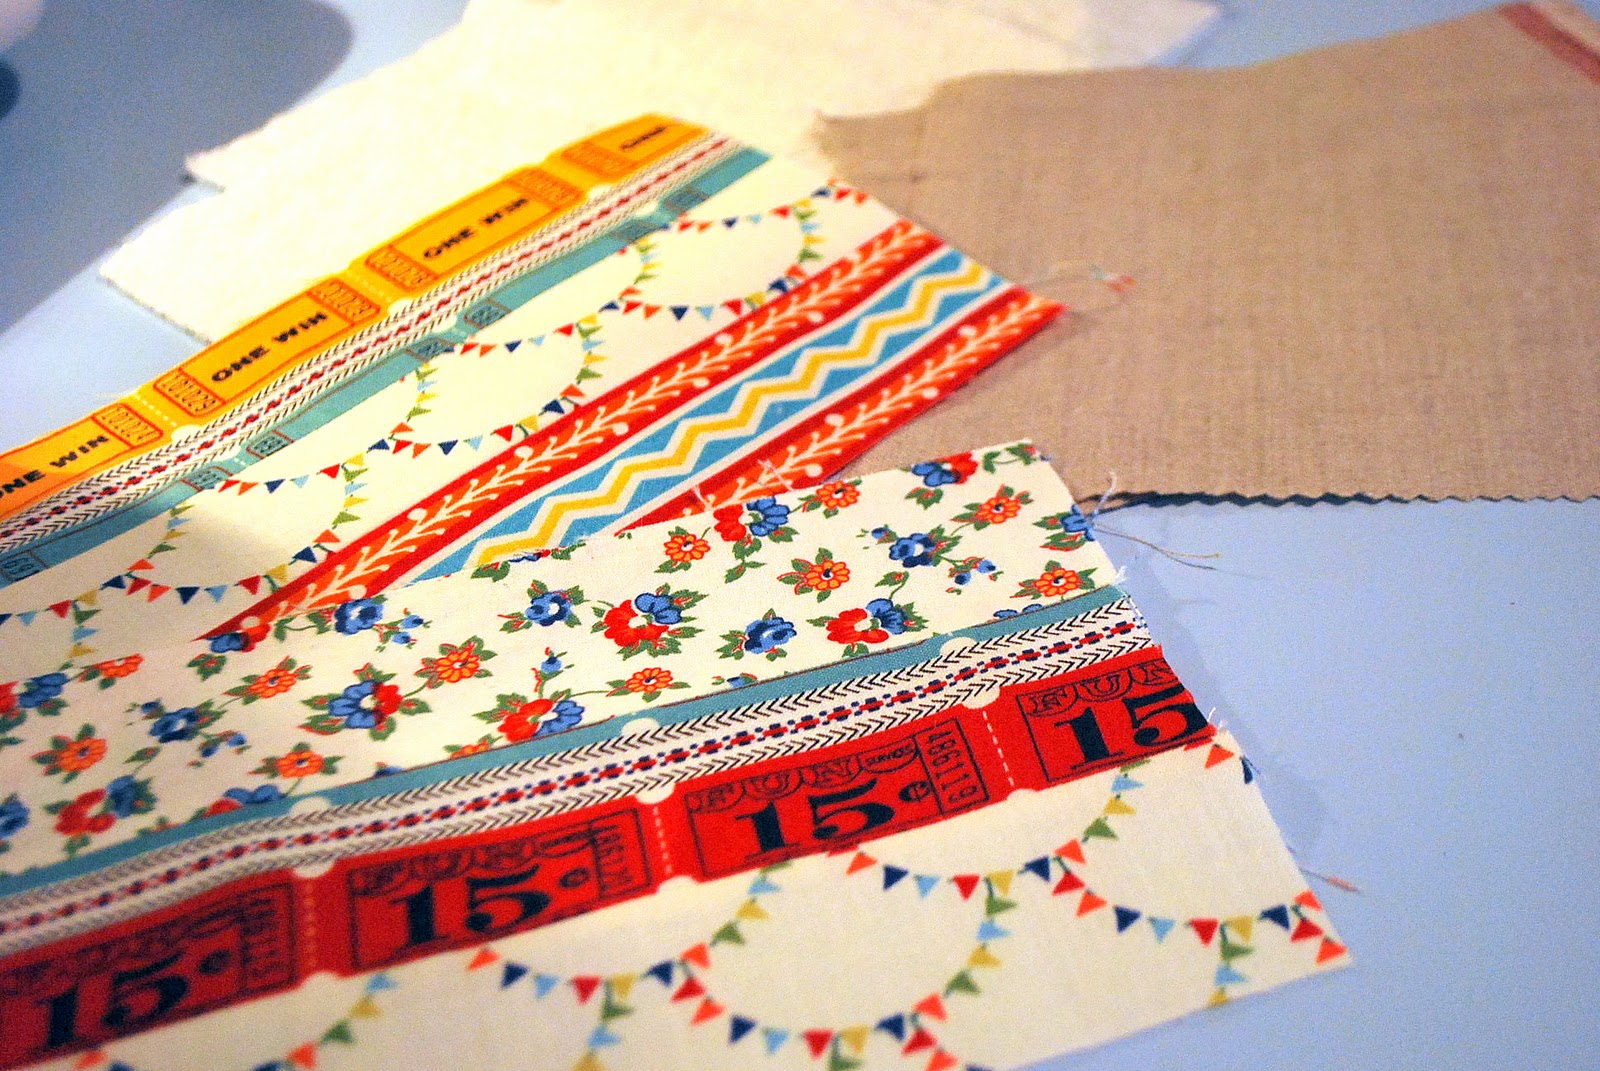
pick your fabrics!
proper way: prewash everything, make sure they all match, and are what all the cool quilting kids are using.
julie way: have no patience to pre-wash, make sure they go together, and that they are not too girlie (for you know who).
checklist:
-pencil, paper, ruler
- cotton fabrics
-linen
-quilt batting
-rick rack
-hot cup of coffee
-puppies
using legal size paper (i have no idea where it came from, but i have alot of it) i drew up what i wanted the placemats to look like.
normally, you figure out your seam allowance, and adjust measurements, so they all match up, perfectly.
i cut out 2 of each in my fabrics, and did not add seam allowance. i love to live on the edge :)
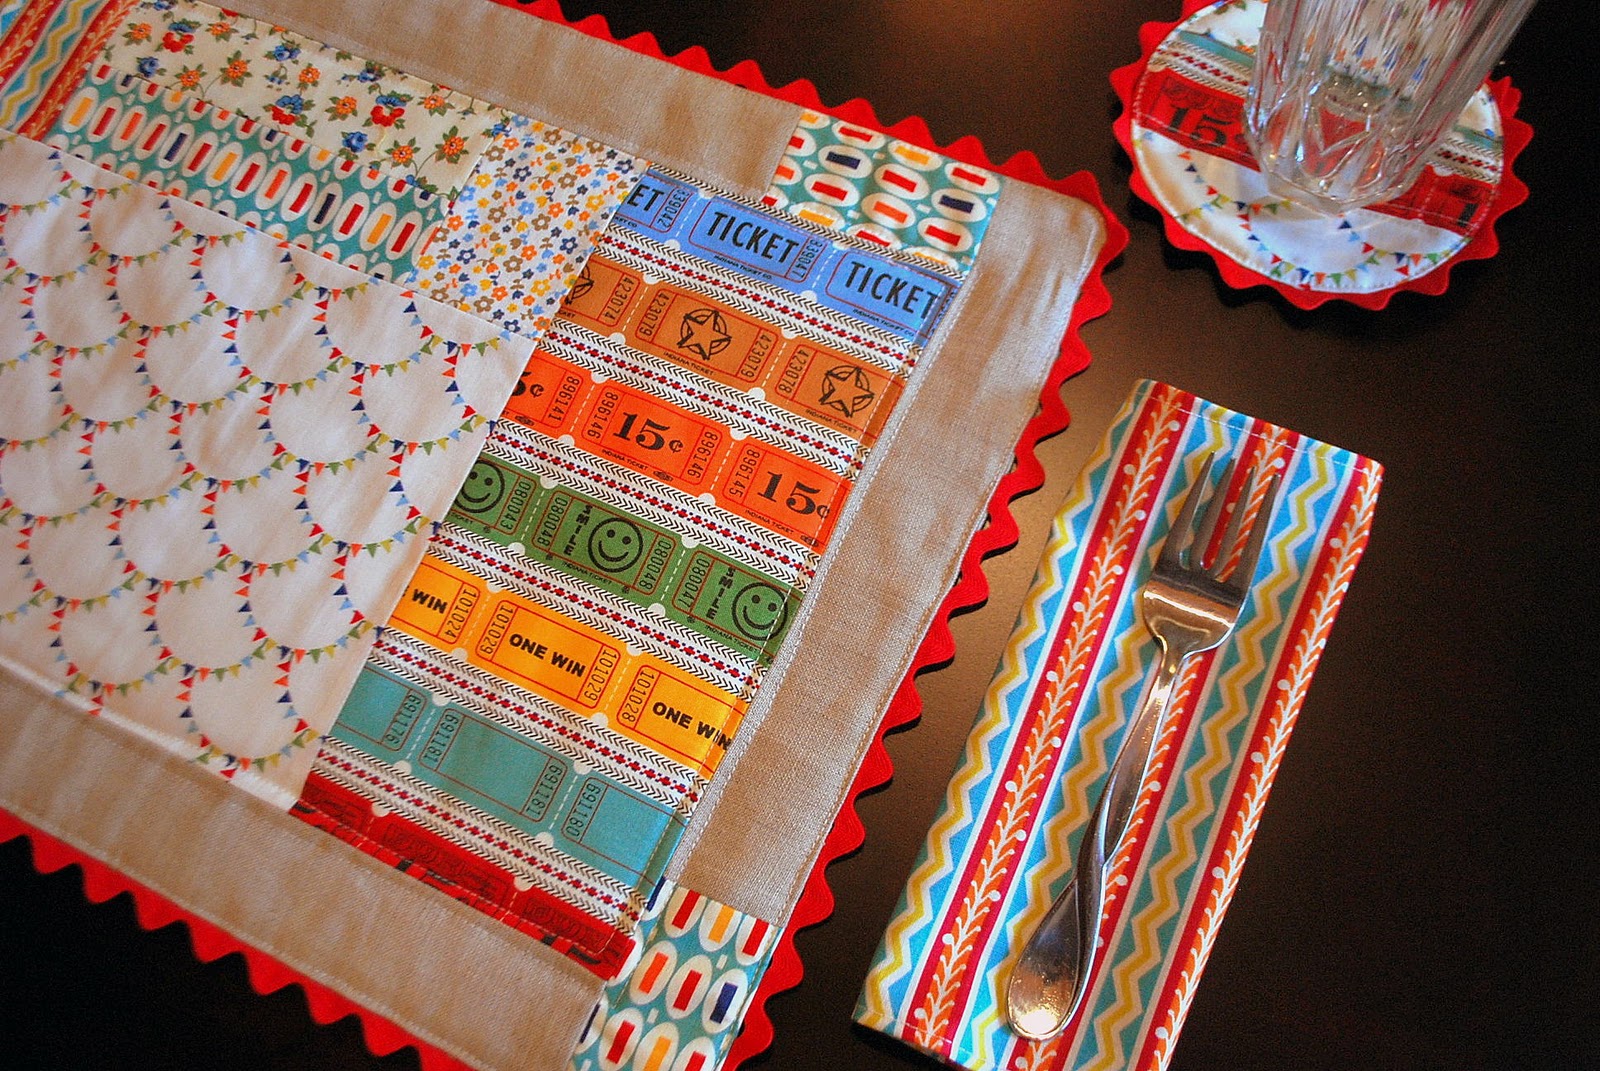
sewed them all together, trimmed of the little bit of excess i had, and pressed open my seams. i ended up with little placemats, rubbed my hands together, and did my evil laugh... the plan is working!
cut out some 2" strips of linen, added one of my printed fabrics to the end of each, and attached them on the outer edges of placemat.
ta dah!
i left the linen plain, but if ever i was to make more of these, i may add some hand stitching details using some embroidery floss, or maybe machine stitched lines, in different colored threads.
using the finished placemat, i cut 2 more out of linen ( backing ) and of course the center layer of quilt batting, because i had some handy, or else a fleece alternative would have worked nicely.
machine stiched some vintage jumbo rick-rack all around. i prefer to use vintage trim, since the new rick rack is stiff, and way too polyester looking for me.
once rick rack was sewn, i sewed the top part of placemat, to the backing ( right sides together ), and left a 3" opening, to turn it right side out, did one more machine top stitching around the edge, done!
ok, almost done.
for the coasters, used 3 each, of 2" wide strips sewn together. i made them round, using the lid of one of my old vintage cannisters as a template.
make sure to press open your seams, or they will look icky!
quilt batting, rick rack and linen to finish them off, just like the placemats.
done.
so pretty. so easy. and lots of fun to make, when you just wing it, and see what happens.
oh yeah, and the curtains i mentioned?
they are still, draped over one of my dining room chairs.
tsk.. tsk.. tsk..
fabrics in this little project came from
here ( omg... this quilt shop is utterly amazing, and i cannot believe i had never been there before ) and
here.